
Medical equipment, sensors, telecommunications, and electronics are just a few of the uses for micro-coils—which are important parts in many more. Their tiny scale and accuracy demands make their preparation a difficult procedure. This article will assist you in grasping and applying the micro-coil preparation process.
Knowing Micro-Coil Specifications
Clear knowledge of the requirements for your micro-coil is very vital before you begin the preparation procedure. Important requirements consist in:
- Abbreviated: Often expressed in American Wire Gauge (AWG), the wire used’s diameter
- Dimensions of coil: length, inner and outer diameters, pitch—that is, distance between turns.
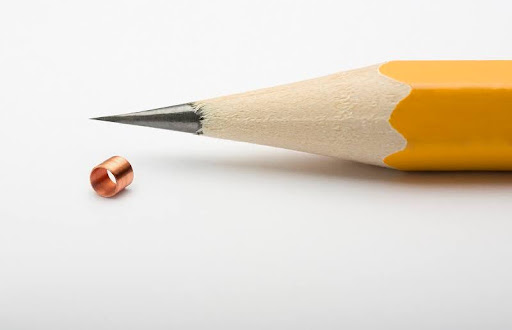
- Material: Usually copper, however, other materials like gold or aluminum may also be included. This is the wire.
- Inductance and Resistance: Electrical characteristics you must satisfy the particular needs of your use.
Choosing the Correct Tools and Materials
Choose a wire that satisfies the needed material standards and gauge. Make sure, if necessary, it has an appropriate insulating covering.
Tools:
- Wire Strippers: Should necessary, remove the insulation from the wire ends.
- Tweezers: For wire and tiny component handling.
- Winding machine: For uniformity and accuracy, either manually or automatically coil winding machines are used in windings.
- Microscope: Using a magnifying glass or a microscope, examine the coil both during and after preparation.
Micro-Coil Turning Winding
Attach the mandrel to the winding machine setup. Check it is correctly aligned and firmly in place.
- Get ready for the wire by stripping the ends to reveal the bare wire if it has insulation. Make sure your wire length meets both any connections and the winding procedure.
- Starting wrapping the wire onto the mandrel, maintain the turns tight and equal. The performance of the coil depends on the winding’s exacting quality. Keep constant strain on the wire to prevent overlaps or gaps.
- Count the revolutions. Count the turns to satisfy the given inductance and resistance. Often automated winding machines are counters to help with this.
- Once the winding is finished, gently fasten the wire ends to stop them from unwinding. One may do this by running the ends around the coil or with a little glue.
Examining and Testing
Examining the coil for flaws such as uneven winding, gaps, or broken wire with a magnifying lens or microscope may help you visually.
Measure the coil’s resistance and inductance using suitable testing equipment. Check the values satisfy the given criteria. To guarantee the coil can endure operating circumstances should mechanical stress be applied to test its durability by applying suitable forces.
Standards of Quality
Use a quality control system to verify every coil for compliance with standards and uniformity. This could consist:
- Random sampling: Verify consistent quality by testing a coil sample from every batch.
- Record: Maintaining records of test findings, material batches, and manufacturing dates can help you to be traceable.
Conclusion
Micro-coil preparation calls for accuracy, meticulousness, and a strong awareness of the specifications and application criteria. Following this advice will help you to guarantee that your micro-coils satisfy performance criteria and are of great quality. Achieving best outcomes for any kind of application—medical devices, electronics, or otherwise—dependent on micro-coil preparation is vital.
Keep an eye for more latest news & updates on Tech Sky!